
Hey guys, I'm Bruski, a regular everyday normal engineer🎵 👨🏻💻
Say, do you guys wanna setup a blog site of your own?

A blog site is a great place for us to record down our notes, daily thoughts or publish professional articles. By writing blogs, we can benefit from reviewing and outputing what we have learned. What's more, thanks to the searching engine like Google, our posts might be searched and visited by anyone in the world, that means someone might get inspired by your articles and your influence on the Internet could eventually scale up.

So back to today's topic, I'm gonna show you how to pick a blog framework and deploy it in seconds via let.sh, the one-command deployment tool.
For more infomation about let.sh, please visit the offical website
What you are expected to learn:
- 🚀 deploy your blog site in seconds
- ⛳️ own a website with custom domains and automated HTTPs connections.
- ⚒️ get a powerful console of your blog site for monitoring and benchmark
- 👨🏻💻 enjoy a simple yet happy deployment experience
Step 1: Pick a blog framework
If you have already setup your blog, just skip to the next chapter ✅
Typically, there are two types of blog framework: Static-Side Generating and Server-Side Rendering. (check this post for more information). As for tutorial purpose, we choose the type Static-Side Generating as our choice. Because this type of framework can generate html files at build time on your local machine, so we can simply transform our posts to a bunch of static files rather than storing them into the database.
There are also many alternatives for selecting Static-Side Generating blog framework such as Hexo, Gatsby, Next.js (more details here). We will pick Hexo as our framework because it is a fast, simple & powerful blog framework.
According to the installation doc of hexo, we should install its cli firstly:
npm install hexo-cli -g
And then initialize our blog project with its name my_blog:
hexo init my_blog
If everything goes right, we'll get our project as below:
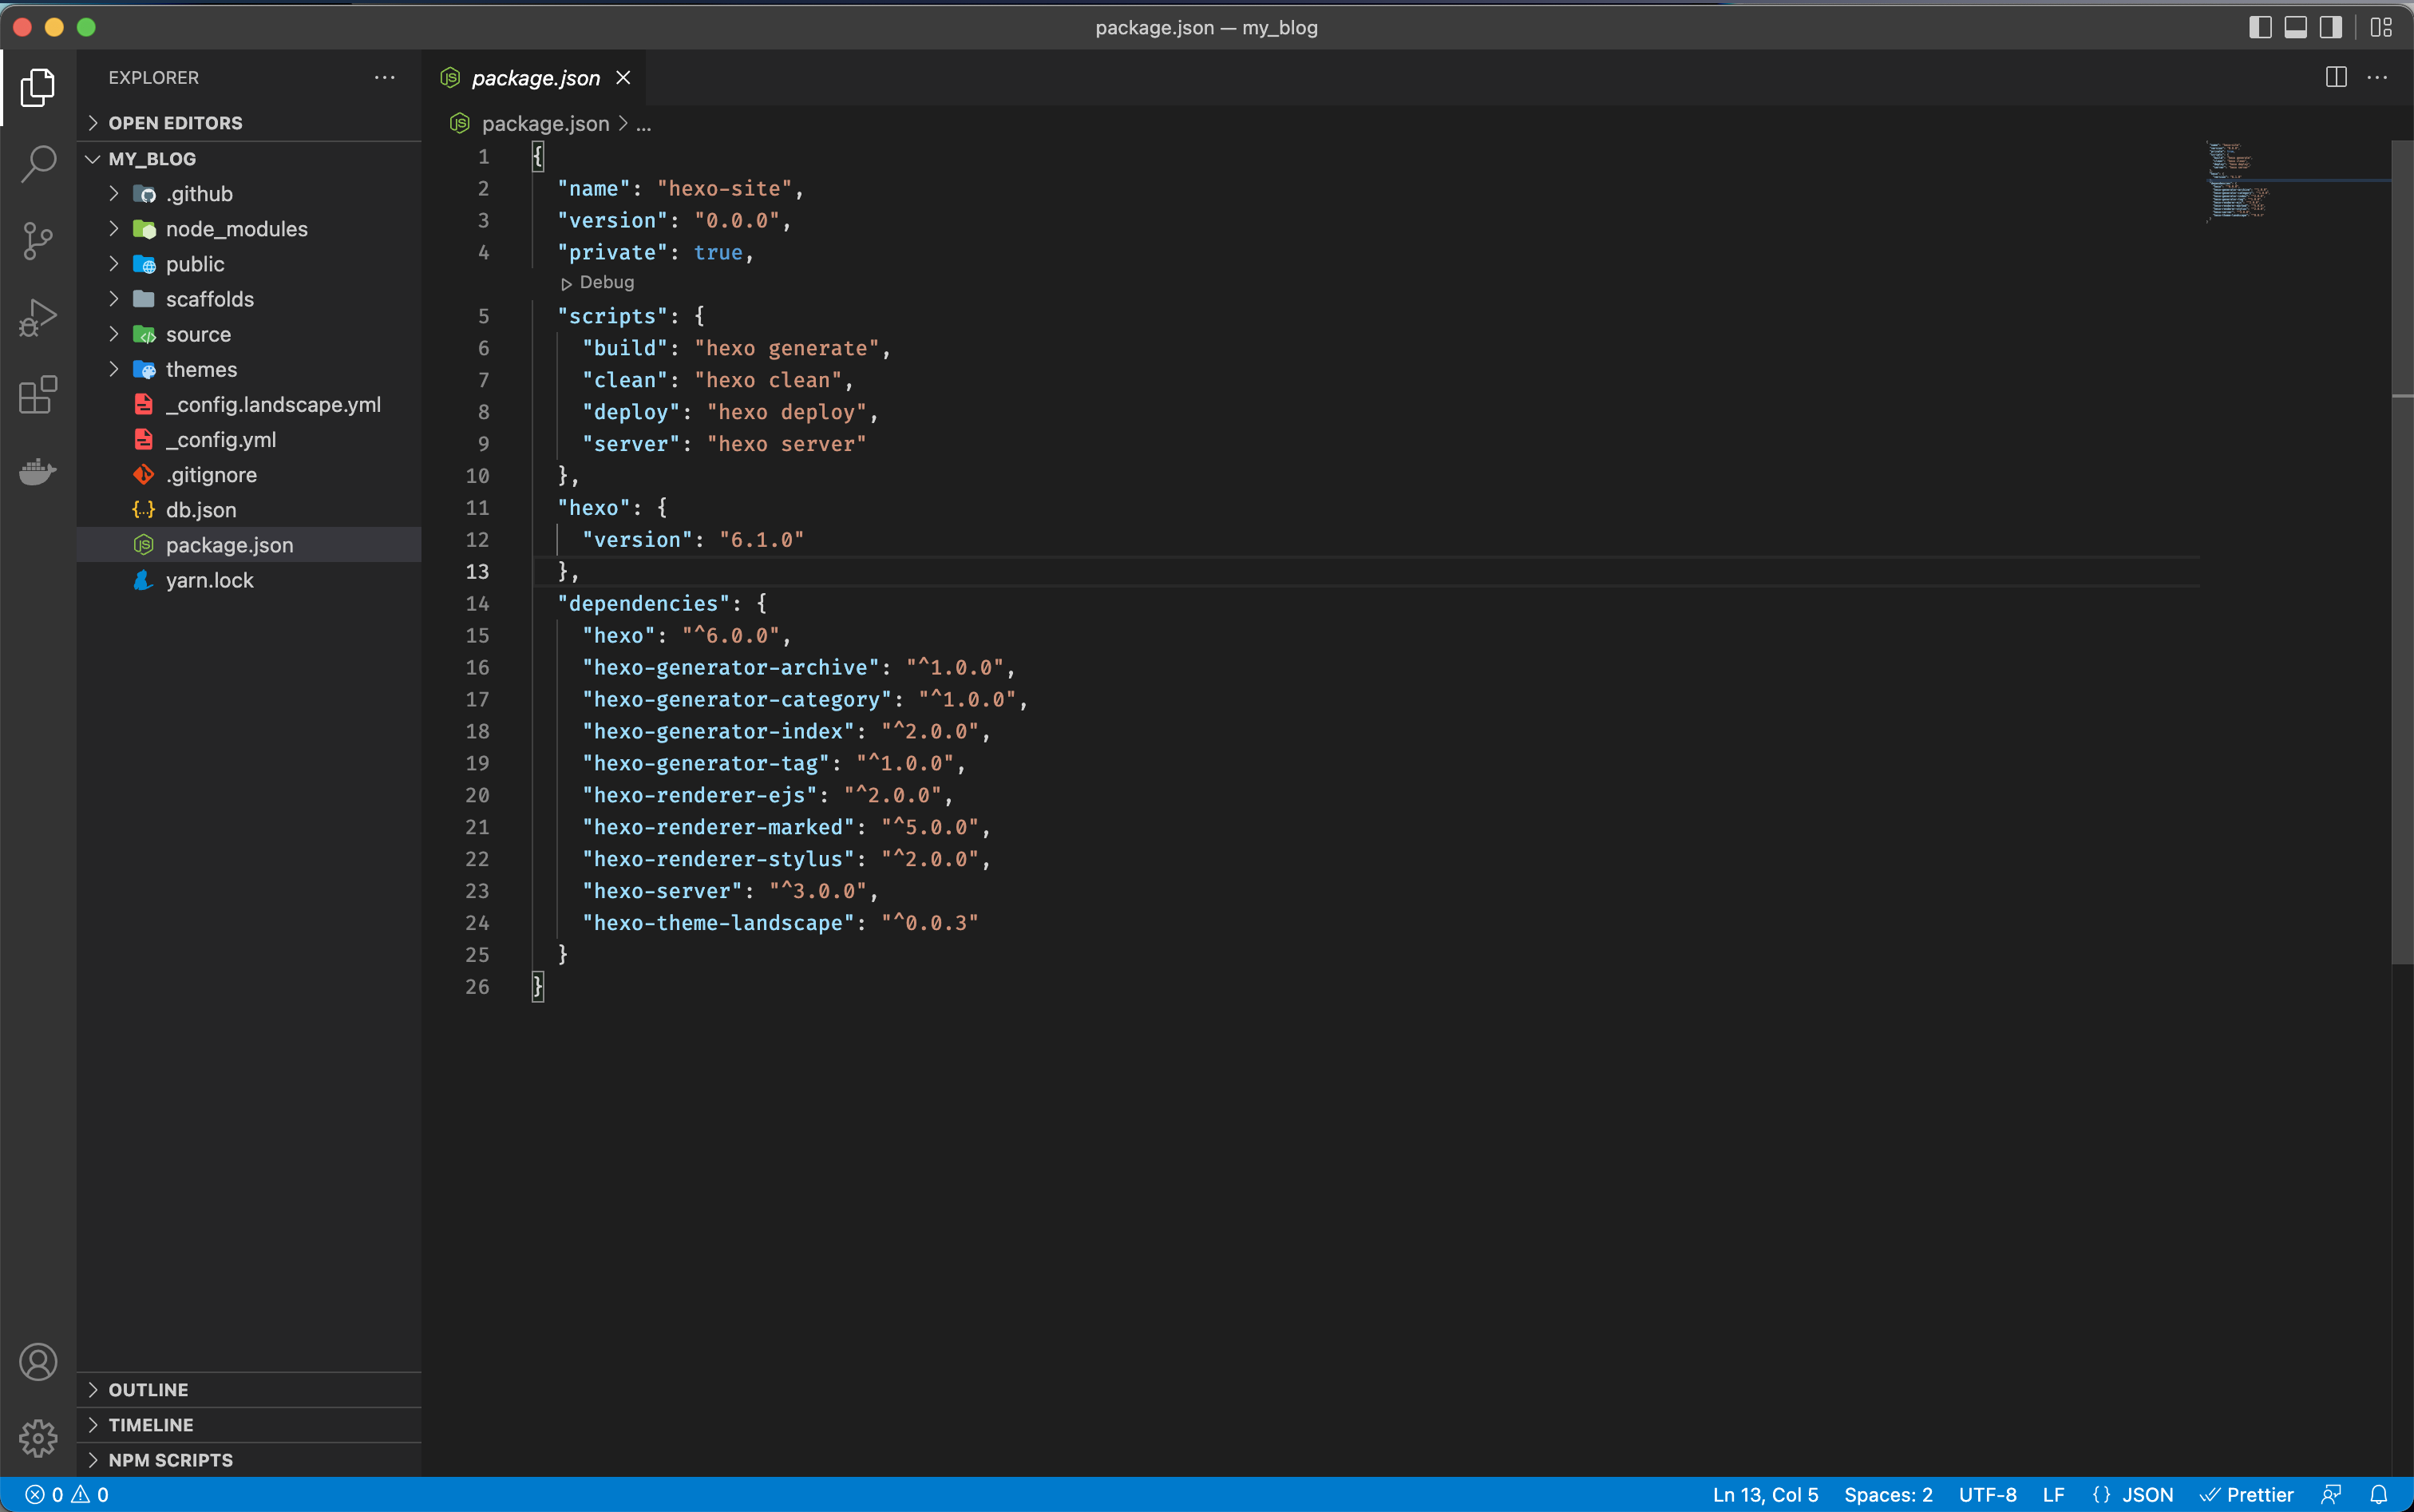
We can run the npm run server command to preview our blog site locally:

Step 2: Install let.sh real quick
Next, install let.sh tool
# For MacOS / Linux User
curl -o- -sL https://install.let-sh.com/install.sh | bash

# For Windows User
iwr https://install.let-sh.com/install.ps1 -useb | iex
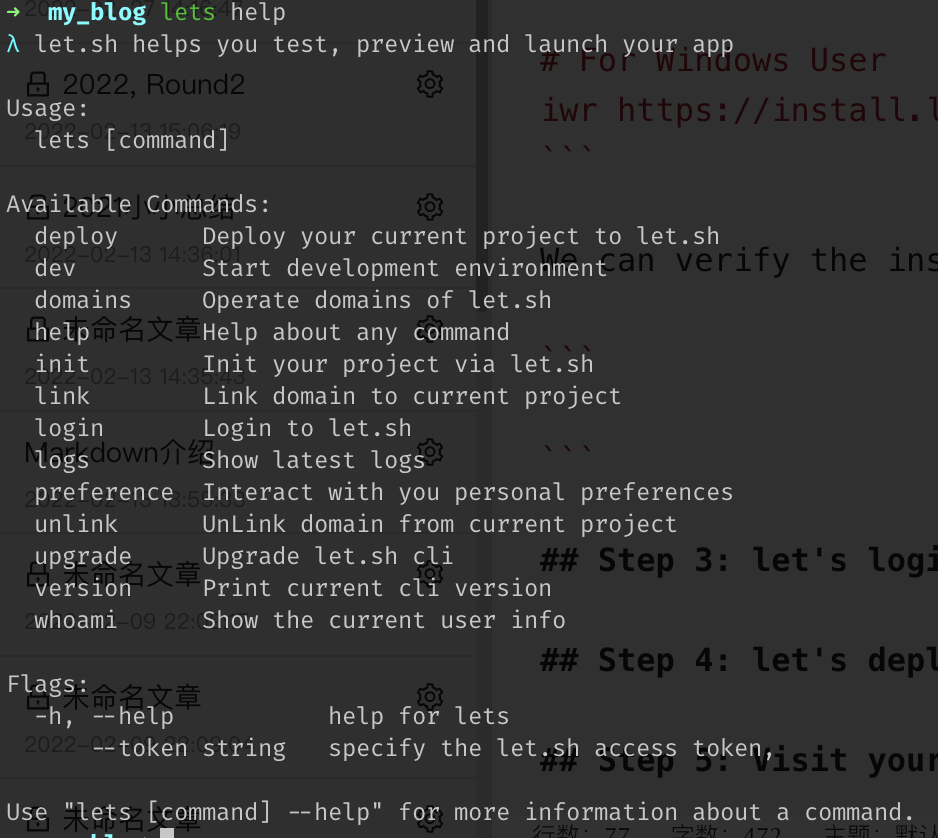
We can verify the installation:
lets help
Step 3: let's login
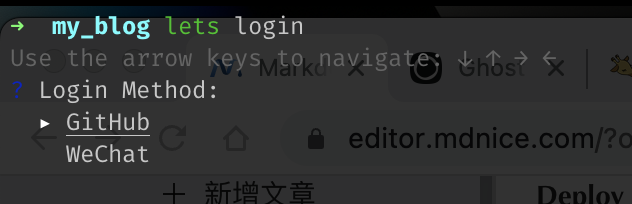
Before we use let.sh, we should login our github account in the terminal. Just type in the command and hit enter:
lets login
Select Github login option
Authorize let.sh to access the specified permissions to your github account:
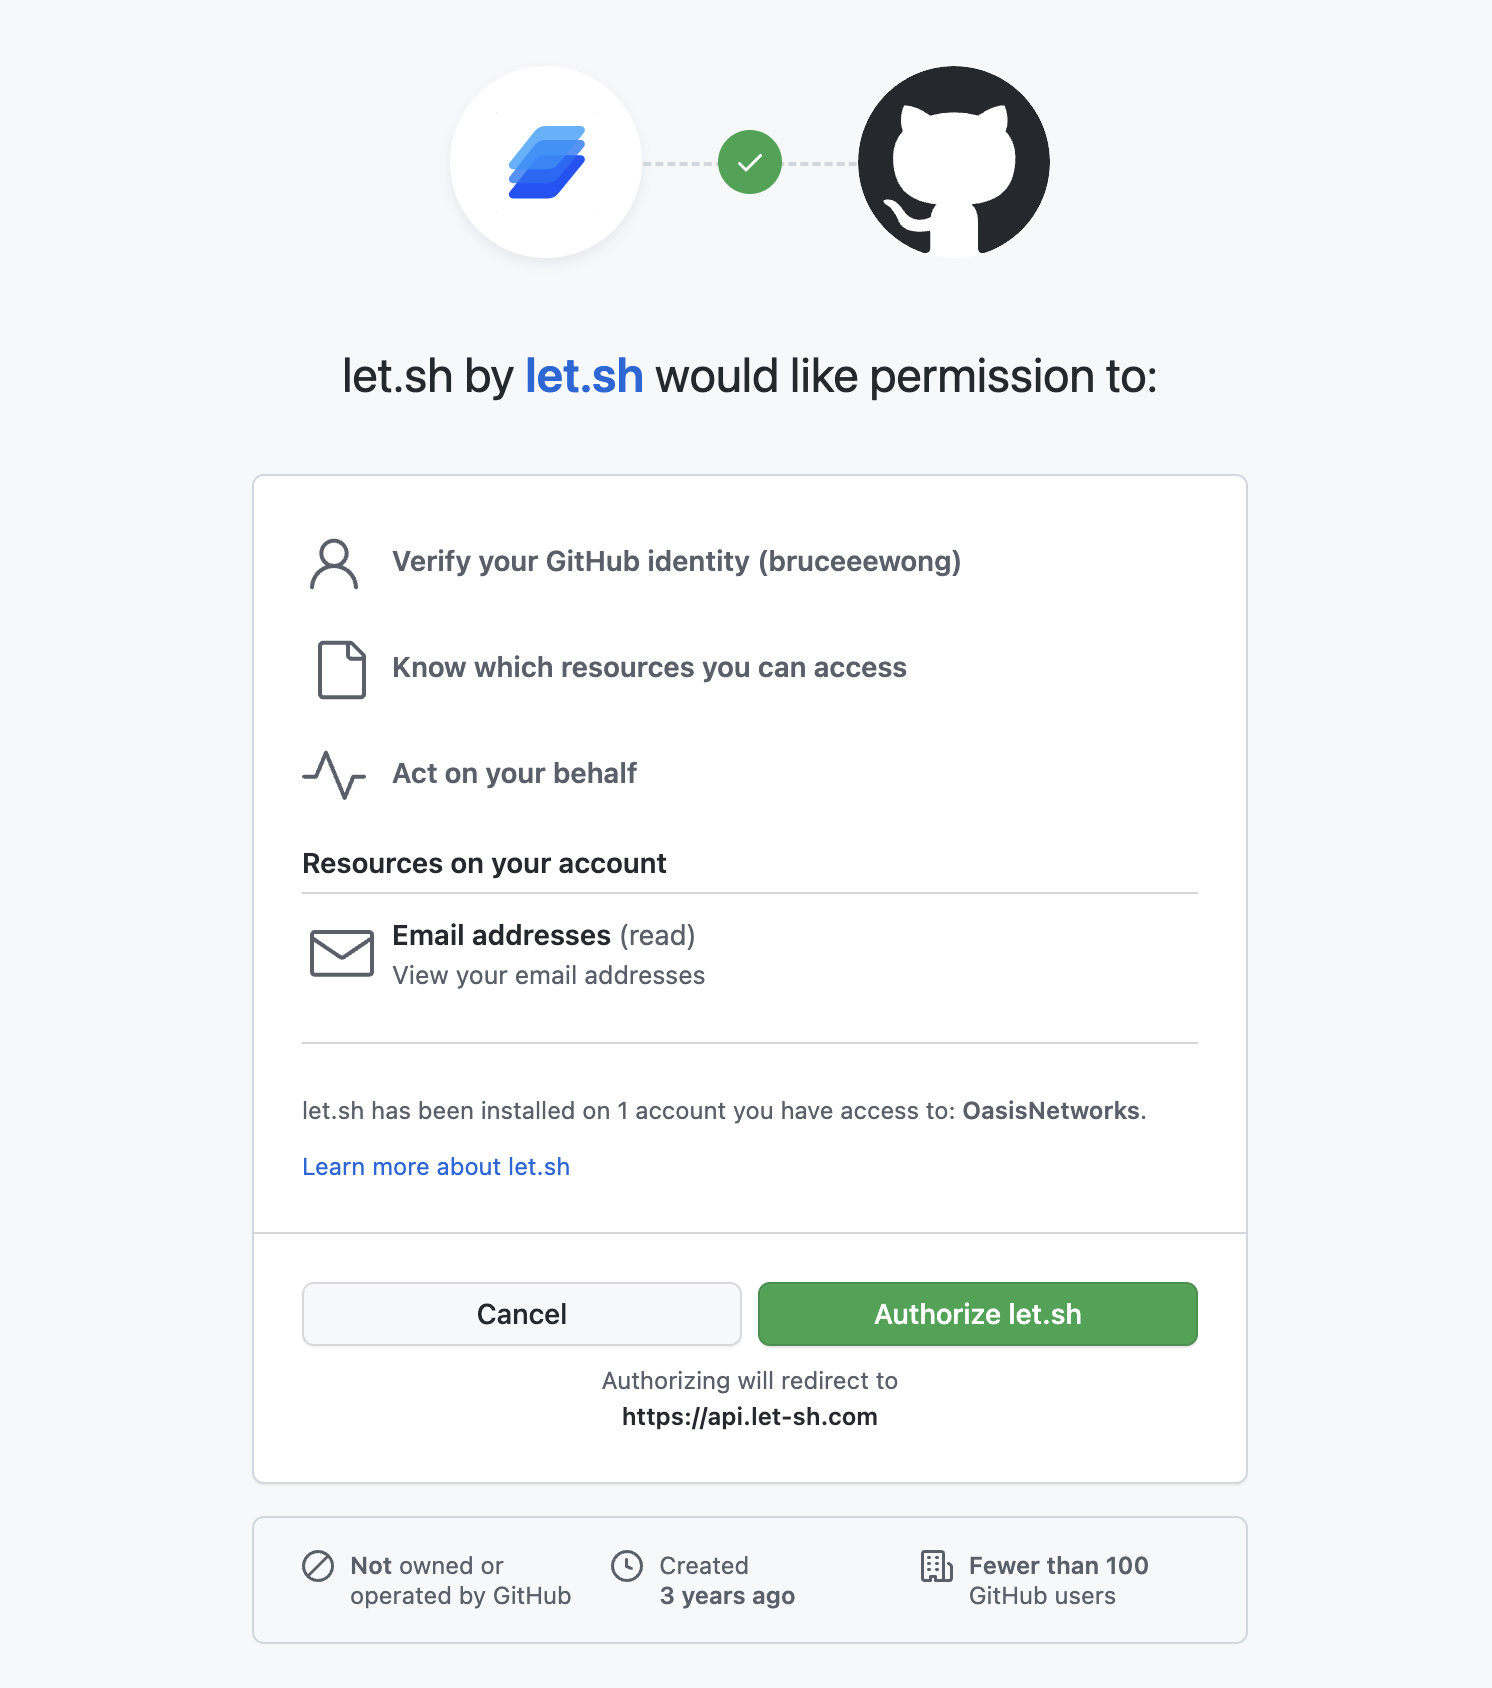
We'll see the success result page of let.sh if the authorization has been approved.

Step 4: let's deploy
Back to the terminal, now we can finally deploy our blog site to the Internet.
Note that our terminal is at the root path of our project
No complicated actions, just goes with the command
lets deploy
Just a few seconds later, the whole deployment has been done elegantly by let.sh.
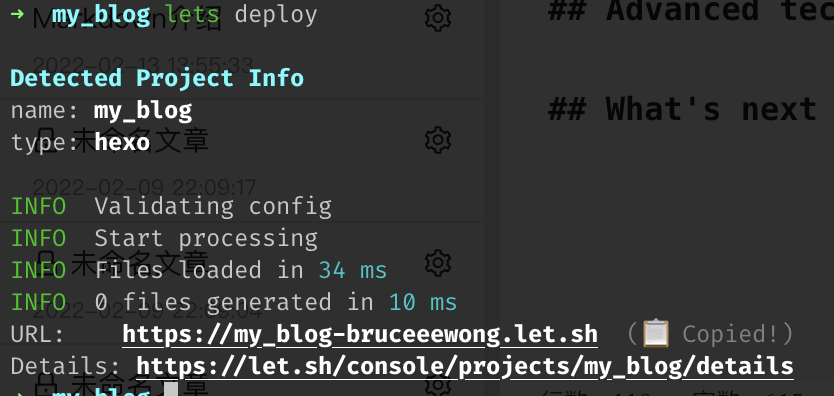
Congratulations, now we are free to visit our alive blog site 🎉
https://my_blog-bruceeewong.let.sh
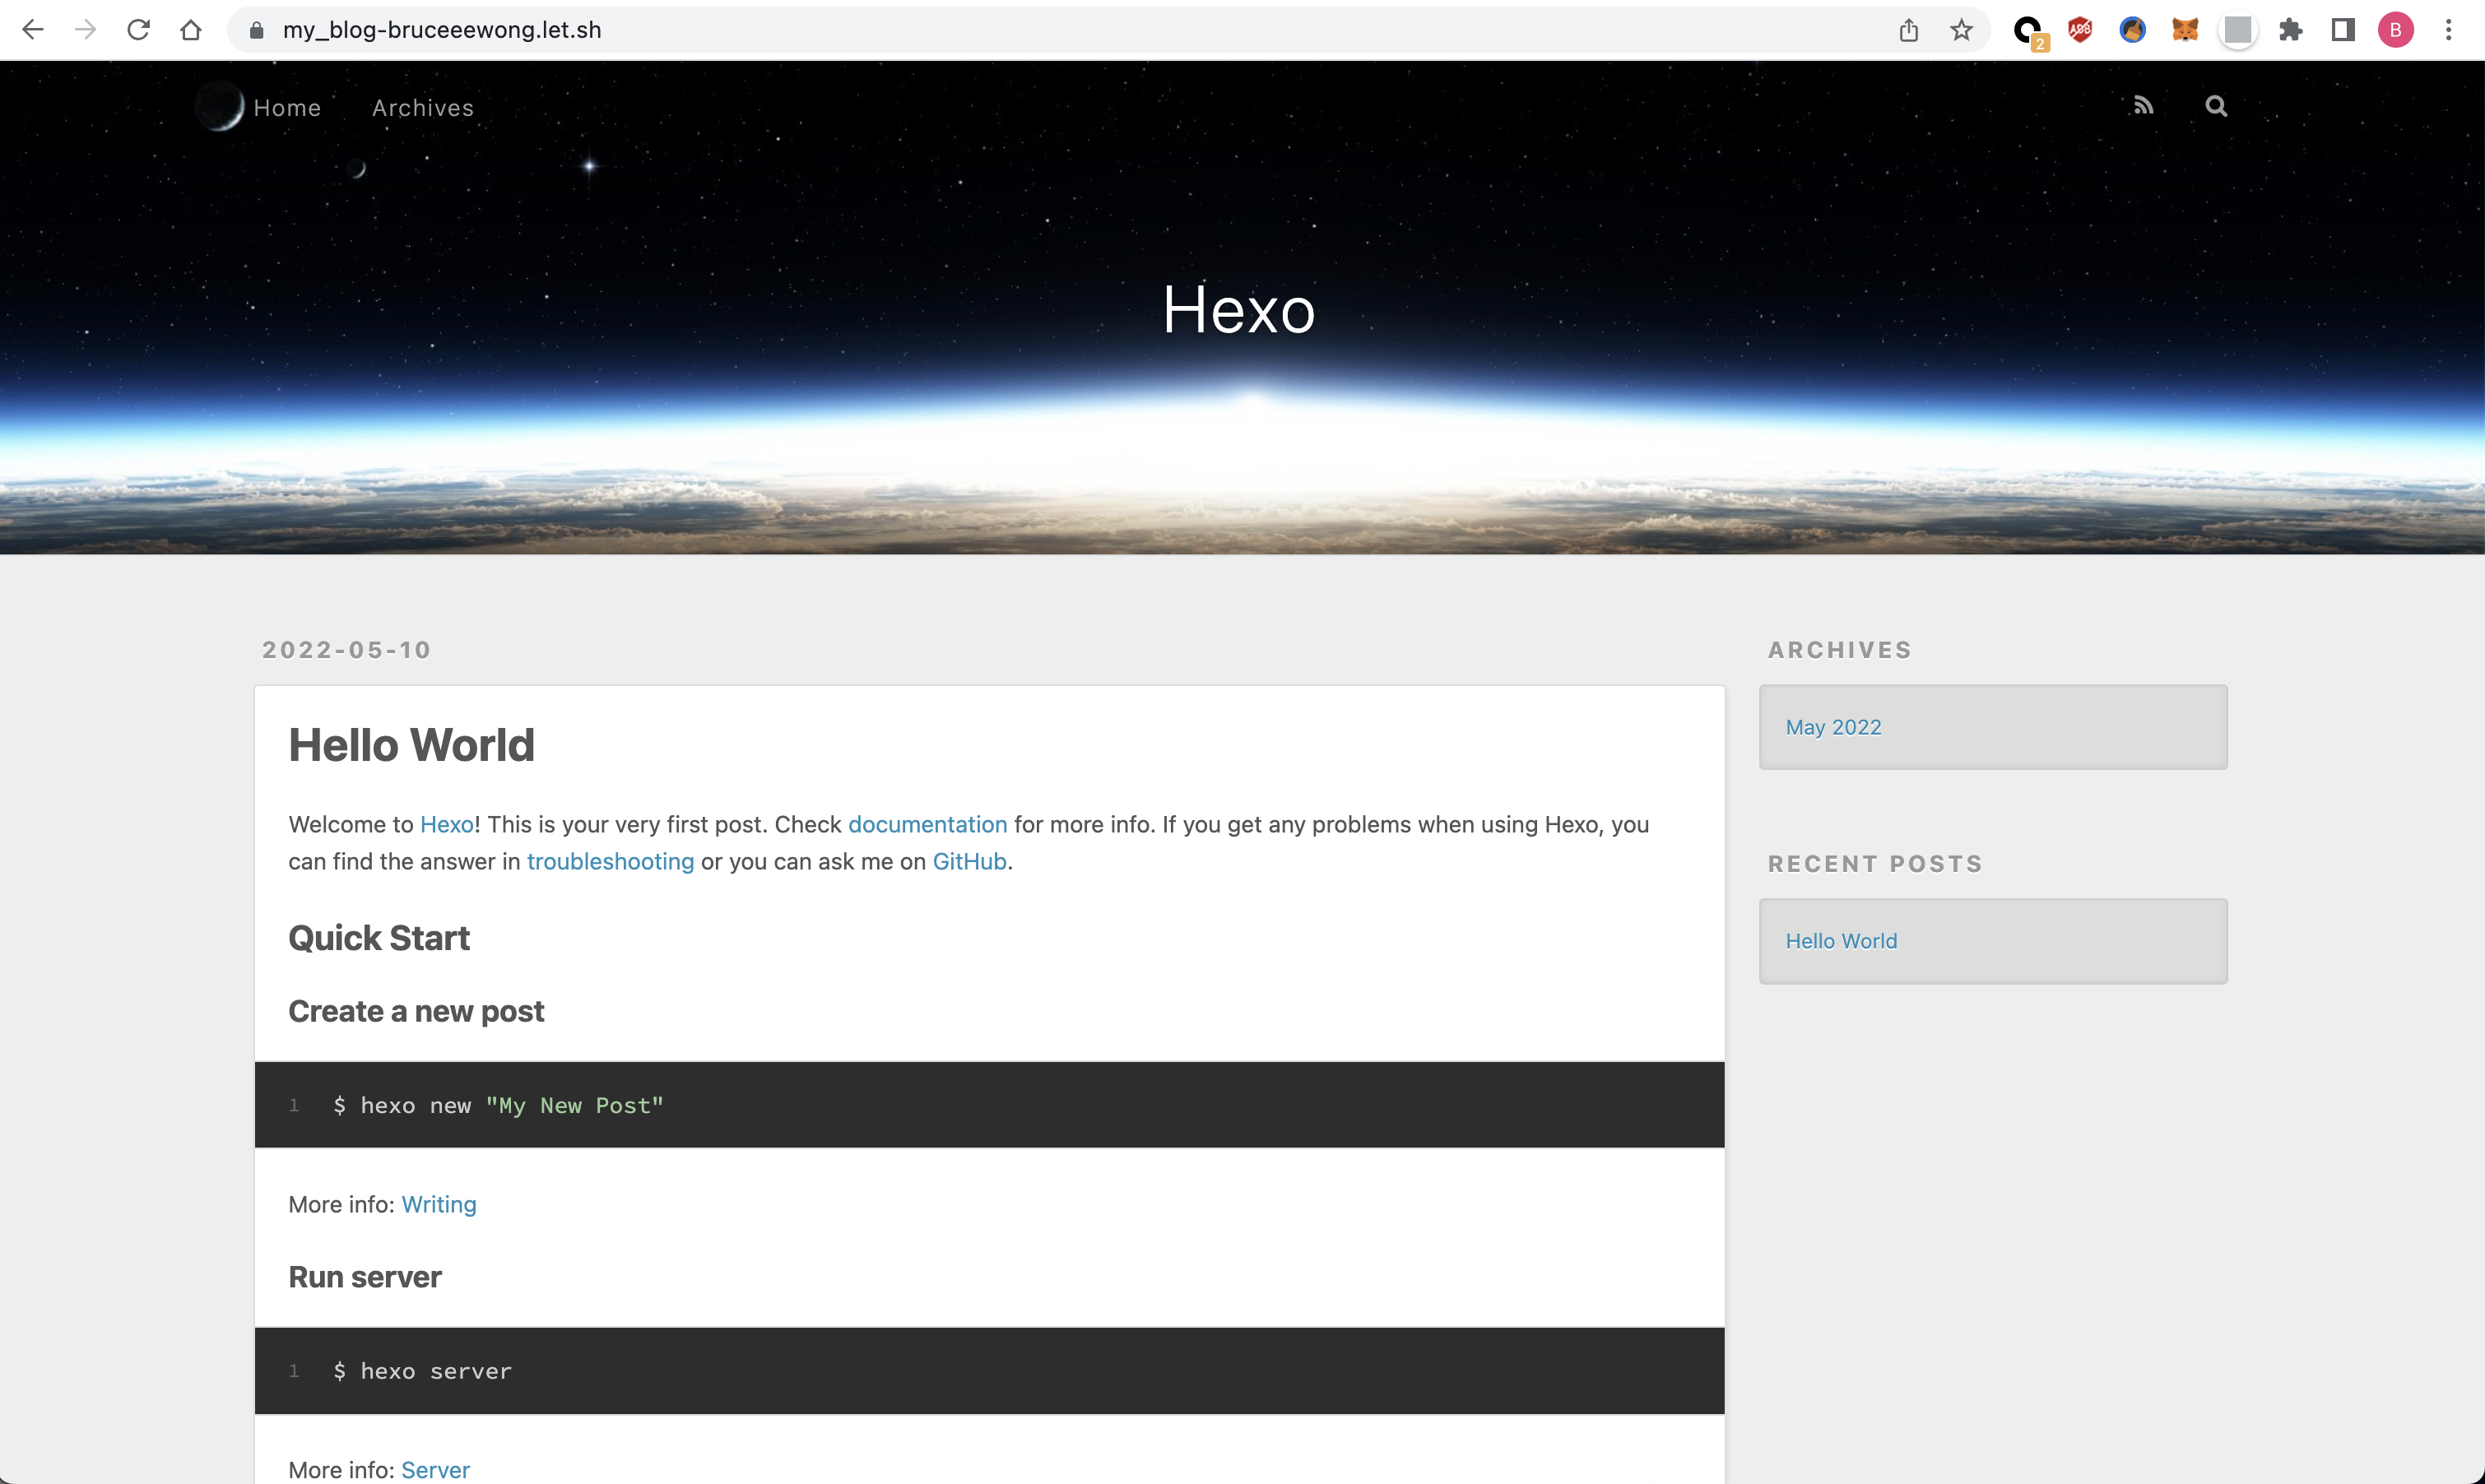
Share it with your fellows right now, shall we? 🍻
Advanced techniques
As we can see, let.sh automatically detects the type of our framework and triggers the appropriate building action. After building, it uploads all the files to the cloud storage and provides the accessible link that equipped with HTTPs. All these complicated things are done in just one command lets deploy.
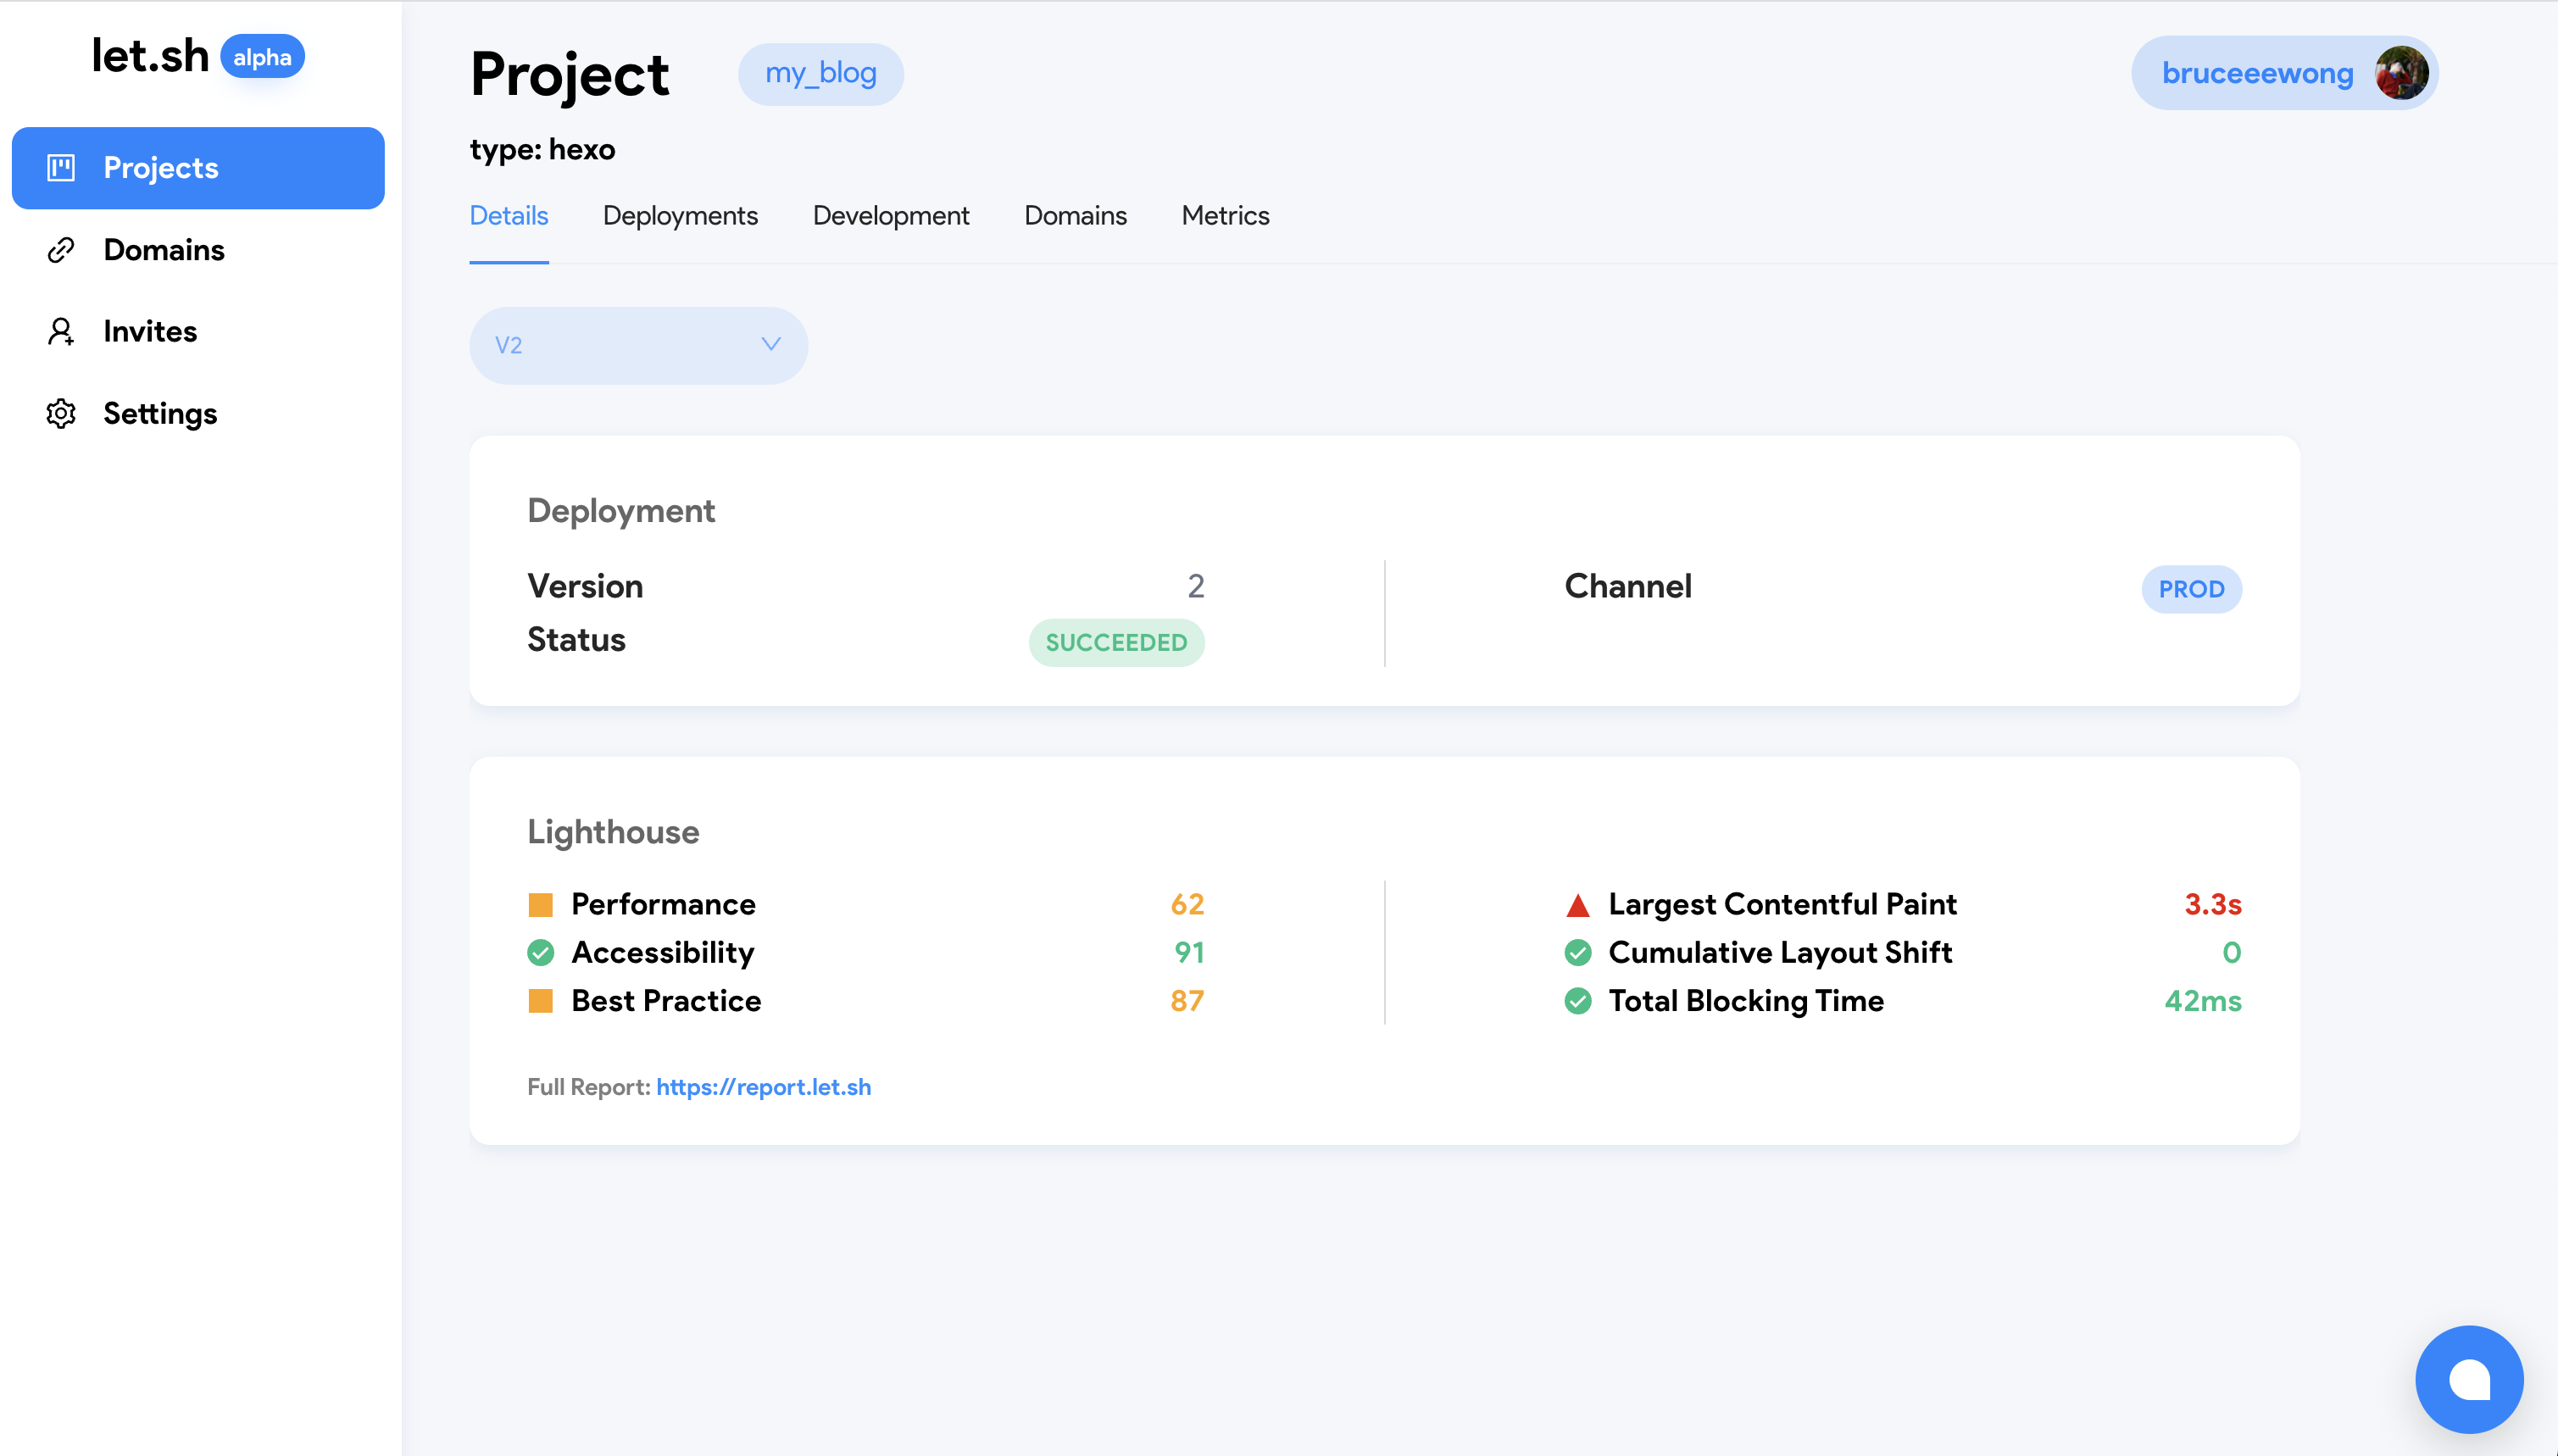
Meanwhile, it provides a detail link at the bottom of the output info. We visit the https://let.sh/console/projects/my_blog/details and it will navigate to the console of our project, where we can check the status of each deployment and the benchmark of our blog pages.
What else, how about customize the domain name for your blog site instead of the given one? No problem, just enter the command lets link <domain_name> to achieve the goal. We can setup unique subdomain of .let.sh immediately, for example:
lets link bruce_blog.let.sh
If succeeded, we can visit via our custom domain name https://bruce_blog.let.sh 🎉
If you want to assign your own domain name, please follow the instructions
What's next
We've finish the deployment of our blog site with let.sh in seconds!
If you have any questions or advanced demands, go visit the documents of let.sh: https://docs.let.sh/
Happy coding ;)